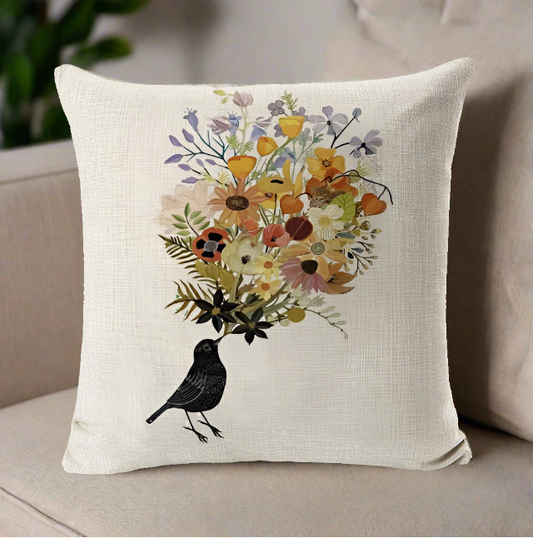
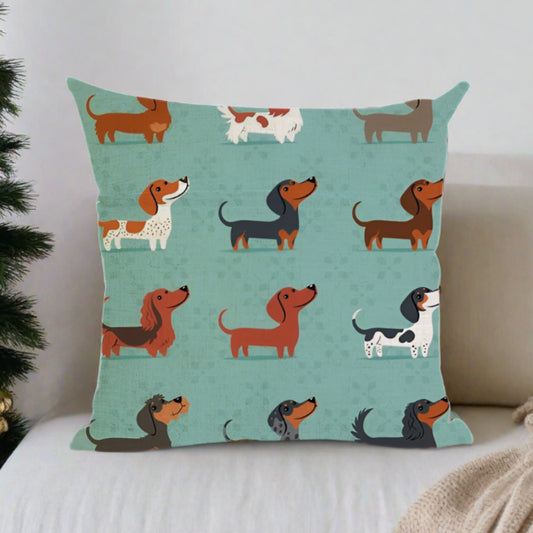
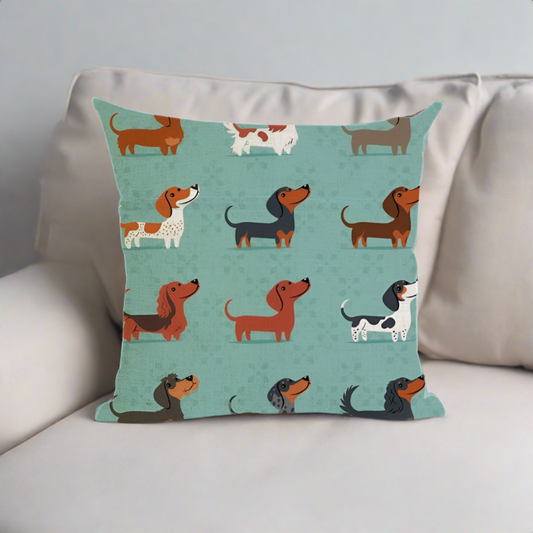
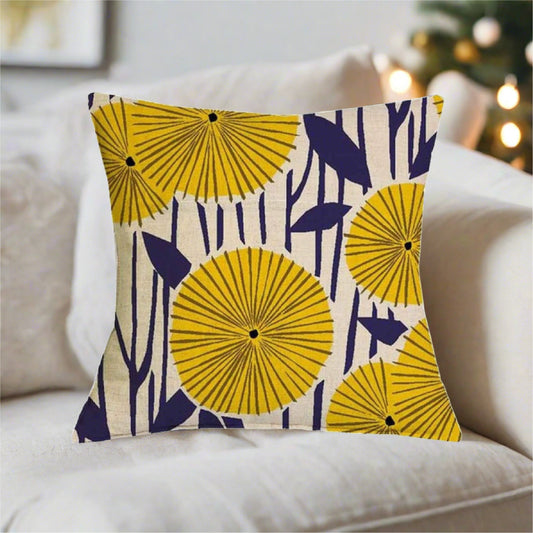
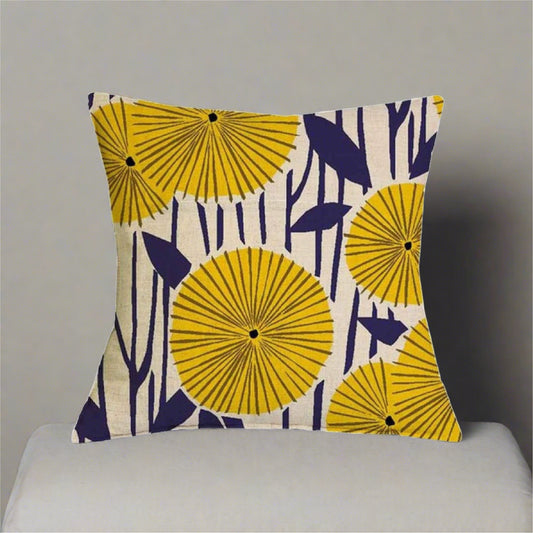
Make an Envelope Pillow Cover: Step-by-Step Guide
What is an Envelope Pillow Cover?
An envelope pillow cover is a type of pillowcase with a special back closure that resembles an envelope. This design uses overlapping fabric panels, making it easy to insert or remove a pillow insert. Unlike traditional pillowcases, envelope pillow covers do not require zippers, buttons, or snaps, making them a popular choice for simple DIY projects and home decor.
Comparison with Zippered Pillow Covers
Zippered pillow covers use zippers to secure the pillow insert inside. While these provide a snug fit and a sleek look, they can be more challenging to sew and maintain. Zippers may break over time or get stuck, causing frustration. In contrast, envelope pillow covers offer a no-fuss alternative. They eliminate the risk of zipper malfunctions and are easier to wash and replace. Plus, sewing an envelope cover is generally quicker and requires fewer materials.

Advantages in Terms of Ease and Style
Ease: Envelope pillow covers boast simple construction. You only need to sew straight lines, making it ideal for beginners. Without the need for zippers, you save on both time and materials. If you want to refresh your decor frequently, envelope pillow covers allow quick swaps without hassle.
Style: The overlapping panels create a neat look on the back, and the absence of a zipper allows for a smoother front design. This style can complement any home decor theme, from modern to rustic. You can use a variety of fabrics and patterns to match the seasons or your mood.
Popular Uses in Home Decor Updates
Envelope pillow covers are perfect for updating your living space. You can quickly change the covers to match seasonal decorations or to introduce new colors and textures to a room. They are especially handy for homes with kids or pets, as they are easy to remove and wash. Whether you want a cozy winter vibe with flannel or a bright summer look with bold prints, envelope pillow covers provide an affordable and flexible solution for any decor update.

Why Choose Envelope Pillow Covers for Your Home Decor?
Envelope pillow covers stand out as a smart choice for several reasons. These covers provide a perfect blend of simplicity, cost-effectiveness, and adaptability, making them a staple in home decor.
Simplicity and Cost-Effectiveness
Ease of Construction: Creating envelope pillow covers requires minimal sewing skills. With straight-line sewing, this project is approachable for beginners and quick for seasoned crafters. You do not need to worry about zippers or buttons, which simplifies the process.
Budget-Friendly: Without the need for extra notions like zippers, envelope pillow covers are more affordable. You save on materials and time, reducing overall project costs. Plus, you can use leftover fabric scraps, giving new life to materials you already own.
Ease of Cleaning and Maintenance
Quick Removal: The overlapping design allows for easy removal of pillow inserts. When it's time to wash your pillow covers, simply slide out the insert. No struggling with zippers or buttons means less wear and tear over time.
Machine Washable: Most fabrics used for envelope pillow covers can be machine washed. This makes maintenance a breeze, especially if you need frequent cleaning due to spills or dirt. Choose durable fabrics for greater longevity and ease.
Versatility in Changing Decor Themes
Seasonal Updates: With envelope pillow covers, updating your look with the seasons is simple. Swap covers for holiday themes or seasonal colors without needing new pillows. This flexibility helps keep your decor fresh and exciting.
Personalization: You can experiment with different fabrics and patterns to reflect your personal style. From vibrant prints to muted neutrals, envelope pillow covers enable you to express your creativity and adapt to any decor theme.
Ideal for Homes with Kids or Pets
Durability: Envelope pillow covers can withstand the challenges of a busy home. Without fragile zippers, they hold up well against the activities of children and pets.
Safety and Comfort: The absence of hardware like buttons or zippers means fewer choking hazards for young children and a more comfortable experience for curious pets. The soft, seamless design is both practical and safe for all family members.
How to Measure for an Envelope Pillow Cover
To create a perfectly fitting envelope pillow cover, accurate measurements are crucial. Understanding how to measure both the pillow and the fabric ensures a snug fit and a polished look.
What are the Measurements for Making an Envelope Pillow Cover?
Explanation of Front and Back Panel Dimensions
-
Front Panel:
- Cut the fabric to the same size as your pillow insert for a snug fit. For example, for a 16x16 inch pillow insert, the front panel should also be 16x16 inches.
-
Back Panels:
- The back consists of two overlapping pieces. Each piece should match the width of the front panel. However, for the height, use half of the pillow's height plus an additional 6 inches to allow for overlap and seams. So, for a 16x16 pillow, each back panel would be 16x14 inches.
Importance of Seam Allowances
- Seam Allowance: Add about 1/2 inch around each edge for seam allowance. This ensures that the seams hold properly without reducing the intended size of the cover. Without proper seam allowances, the cover could be too tight, making it hard to fit over the pillow insert.
Tips for Measuring Pillow Inserts Accurately
- Use a Flexible Measuring Tape: This type of tape helps you measure the pillow from seam to seam, ensuring accuracy.
- Measure the Fullest Part: Always measure across the fullest part of the pillow to account for its plumpness.
- Note Flattening Over Time: Pillows can flatten with use. Measure a pillow after fluffing it to get the most accurate dimensions.
Calculating Fabric Requirements Based on Pillow Size
-
Total Fabric Width: Add the width of the front panel to the combined width of the back panels. Ensure you include seam allowances.
-
Total Fabric Length: Calculate the full length by summing the height of all panels plus seam allowances.
-
Example Calculation: For a 16x16 pillow:
- Front Panel: 16x16 inches
- Back Panels: Two pieces of 16x14 inches each
- Fabric Requirement: Approximately 1 yard of fabric, considering the need for seam allowances and potential errors during cutting.
By following these guidelines, you ensure your envelope pillow cover fits well, functions smoothly, and looks great in your home.
Supplies Needed for Making an Envelope Pillow Cover
Creating an envelope pillow cover requires specific materials and tools to ensure your project is successful. Knowing what you need before starting saves both time and effort.
Essential Materials
-
Fabric: Choose fabric that is durable and complements your decor. For a standard 16x16 inch pillow, about 1 yard of fabric is sufficient. Ensure the fabric is washable if you plan to clean the pillow covers regularly.
-
Sewing Machine: This tool is key for sewing the seams of your pillow cover. While you can sew by hand, a machine offers speed and uniform stitches.
-
Thread: Match the thread to your fabric color for a seamless look. Quality thread helps prevent breakage during sewing.
-
Pins or Sewing Clips: These hold your fabric pieces together while you sew, ensuring precision.
-
Measuring Tape: A flexible measuring tape helps in taking accurate measurements of both the pillow and fabric.
Optional Tools
-
Rotary Cutter: This tool makes cutting straight lines easier and more precise than scissors.
-
Cutting Mat: Use with a rotary cutter to protect your surfaces and ensure clean cuts.
-
Pinking Shears: These help reduce fraying at the edges of your fabric, especially useful if you lack a serger.
Choosing the Right Fabric Type
-
Durability: Opt for fabrics like cotton blends or upholstery fabric. They offer durability and ease of maintenance.
-
Pattern and Color: Consider the room where the pillow will be used. Bold patterns add interest, while neutral tones blend seamlessly.
-
Washability: Choose fabrics that can withstand washing, especially in homes with kids or pets.
Tips on Sourcing Materials
-
Local Fabric Stores: These often carry a variety of fabrics and tools, allowing you to see and feel the materials before purchasing.
-
Online Retailers: Websites like Fabric.com or Joann.com offer a vast selection and sometimes better prices. Look for reviews to ensure quality.
-
Discount and Thrift Stores: These can offer unique fabric finds at lower prices. Check the material for quality and cleanliness before purchasing.
With the right supplies and a bit of planning, your envelope pillow cover project will proceed smoothly, resulting in a stylish and functional addition to your home decor.
How to Cut Fabric for an Envelope Pillow Cover
Cutting fabric is a crucial step in making an envelope pillow cover. Precision in this stage ensures that the final product fits well and looks professional.
How Do You Cut Fabric for an Envelope Pillow?
Step-by-Step Instructions for Cutting Panels
-
Measure the Pillow: Measure your pillow's width and height to determine fabric panel sizes. For a snug fit, use the pillow's exact size.
-
Cut the Front Panel: Use the pillow's dimensions. If the pillow is 16x16 inches, cut the fabric to that size, adding 1 inch for seam allowances.
-
Cut the Back Panels: Divide the pillow's width by two, add an extra 5 inches for overlap, and include 1 inch for seams. For a 16x16 inch pillow, cut two back panels at 16x13 inches each.
Use of Rulers and Marking Tools for Precision
-
Ruler: A straight edge ruler ensures accurate measurements. Align the ruler with the fabric grain for straight cuts.
-
Marking Tools: Use fabric chalk or a disappearing ink pen to mark measurements. These tools allow you to clearly see your cutting lines without damaging the fabric.
Tips for Using Pinking Shears or Rotary Cutters
-
Rotary Cutter: Provides clean, straight cuts quickly. Use with a cutting mat to protect surfaces. Press firmly and roll slowly to ensure even cuts.
-
Pinking Shears: Ideal for preventing fraying. Cut along the edges of the fabric after measuring and marking. These shears add a zigzag pattern which helps maintain fabric integrity.
Ensuring Fabric Grain Alignment
-
Fabric Grain: Always align your fabric pieces to the grain. This alignment ensures the fabric maintains its shape and structure. The grain usually runs parallel to the selvage edge (the finished edge of the fabric).
-
Checking Alignment: Before cutting, lay your fabric flat and smooth out wrinkles. Ensure that the fabric's weave lines up with your cutting lines to avoid distortion.
By following these steps and utilizing the correct tools, you'll achieve precise cuts that will form the foundation of a well-made envelope pillow cover.
How to Sew an Envelope Pillow Cover Without a Pattern
Sewing an envelope pillow cover without a pattern is a straightforward process. The key is to follow a structured approach to ensure each piece fits together perfectly.
Step-by-Step Sewing Instructions
Creating Finished Edges on Back Panels
-
Fold and Press: Begin with the back panels. Fold one long edge of each panel over by 1/4 inch, then press with an iron. This folding creates a clean edge.
-
Double Fold: Fold the same edges over again by another 1/4 inch. This double fold conceals the raw edge inside, preventing fraying.
-
Stitch the Hem: Sew along the inner folded edge using a straight stitch. This creates a neat, durable hem. Use matching thread for a professional finish.
Assembling the Pillow Cover with Accurate Pinning
-
Lay the Front Panel: Place the front panel of your pillow cover on a flat surface, right side up.
-
Position the Back Panels: Lay the first back panel on the front panel, right side down. Align the raw edges with the edges of the front panel. Next, place the second back panel so that it overlaps the first panel, creating the envelope closure.
-
Pin the Layers: Secure all layers with sewing pins, ensuring edges align perfectly. Make sure to pin at regular intervals to keep the fabric from shifting while sewing.
Sewing Seams and Using a Zigzag Stitch to Prevent Fraying
-
Sew the Perimeter: Using a 1/2 inch seam allowance, sew around the entire perimeter of the pillow cover. This step binds all three layers together.
-
Reinforce with Zigzag Stitch: To prevent fraying, sew a zigzag stitch along the raw edges outside the straight seam. This stitch mimics a serged edge, adding durability.
Turning the Cover Right Side Out and Inserting the Pillow
-
Trim Corners: Before turning the cover, trim excess fabric at the corners, being careful not to cut into the seam. This trimming helps form crisp corners once turned.
-
Turn Right Side Out: Gently turn the pillow cover right side out. Use a blunt tool, like a knitting needle, to push out the corners to achieve a sharp finish.
-
Insert the Pillow: Slide your pillow insert through the back opening. Adjust the insert within the cover to ensure it fills all corners and edges evenly.
Executing these steps results in a neatly finished envelope pillow cover that can easily be removed for cleaning or seasonal style changes.
Frequently Asked Questions About Envelope Pillow Covers
How Much Should an Envelope Pillow Cover Overlap?
Optimal Overlap Measurement: The back panels of an envelope pillow cover should overlap by at least 4 inches. This overlap ensures the pillow insert stays hidden and the cover remains secure.
- Why Overlap Matters: Proper overlap prevents the pillow from peeking through and provides a tidy appearance. Too little overlap may cause the pillow insert to slip out.
Can Fusible Interfacing Be Used with Thin Fabrics?
Using Fusible Interfacing for Structure: Yes, fusible interfacing can reinforce thin fabrics, providing stability and reducing transparency.
- Application Tips: Choose a lightweight interfacing to avoid stiffness. Fuse it to the wrong side of the fabric before cutting to ensure precision.
Differences in Fabric Types for Durability and Appearance
Fabric Selection Guide:
-
Cotton: Soft and easy to sew, but may wear faster than other materials. Best for decorative pillows.
-
Linen: Offers a textured, sophisticated look. More durable than cotton but may wrinkle easily.
-
Canvas: Highly durable and resistant to wear. Ideal for high-use pillows, like those in living rooms.
-
Polyester Blends: Often wrinkle-resistant and durable. A practical choice for busy households.
Tips for Achieving Crisp Corners on Finished Covers
Creating Perfect Corners:
-
Trim Excess Fabric: Before turning the cover right side out, cut away the excess fabric at the corners, leaving about 1/8 inch.
-
Use a Point Turner: After turning the cover, gently push out the corners using a point turner or the blunt end of a pencil.
-
Press with an Iron: Once the cover is right side out, press the corners with an iron to set the shape and remove any creases.
